DRPU Gate Pass and Visitors ID Cards Management Software Screenshots

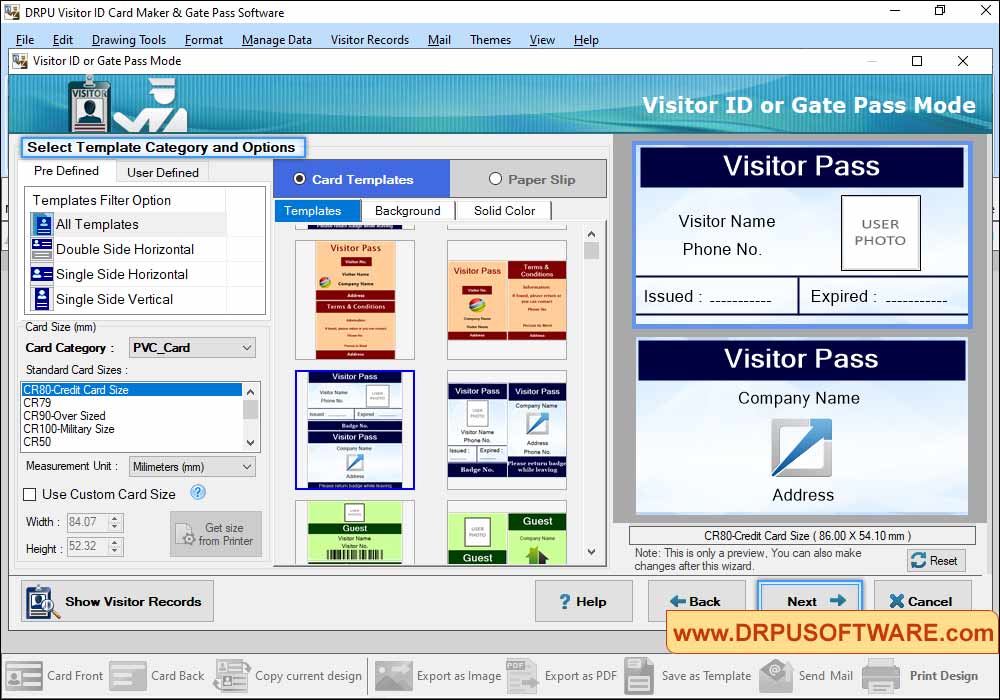
Select Template Category and choose template for your visitor ID Card, Select Card Size, Width and Height as per your requirements.

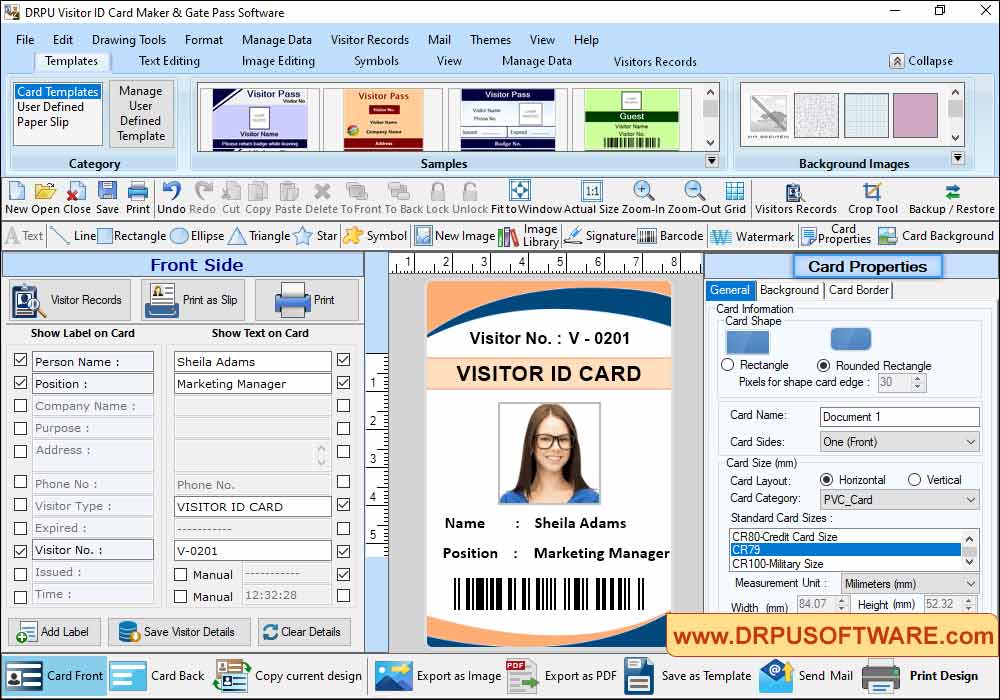
Fill all the details according to card Labels, which you want to add on your ID Card. In the left Panel, Check those labels, which you want to show on your visitor ID Card.
Note: If you want to add any new label on your visitor ID Card, then click on Add New Label button.

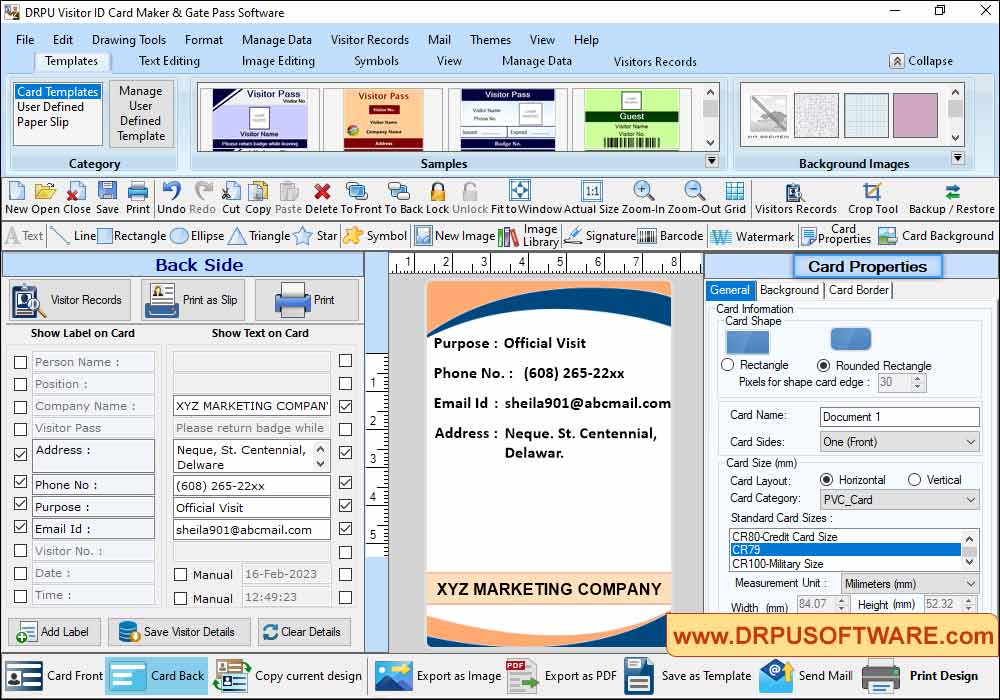
Here, you can see Back view of designed visitor ID Card. You can also add your visitor's details to the database using "Add Visitor details to DB" button.

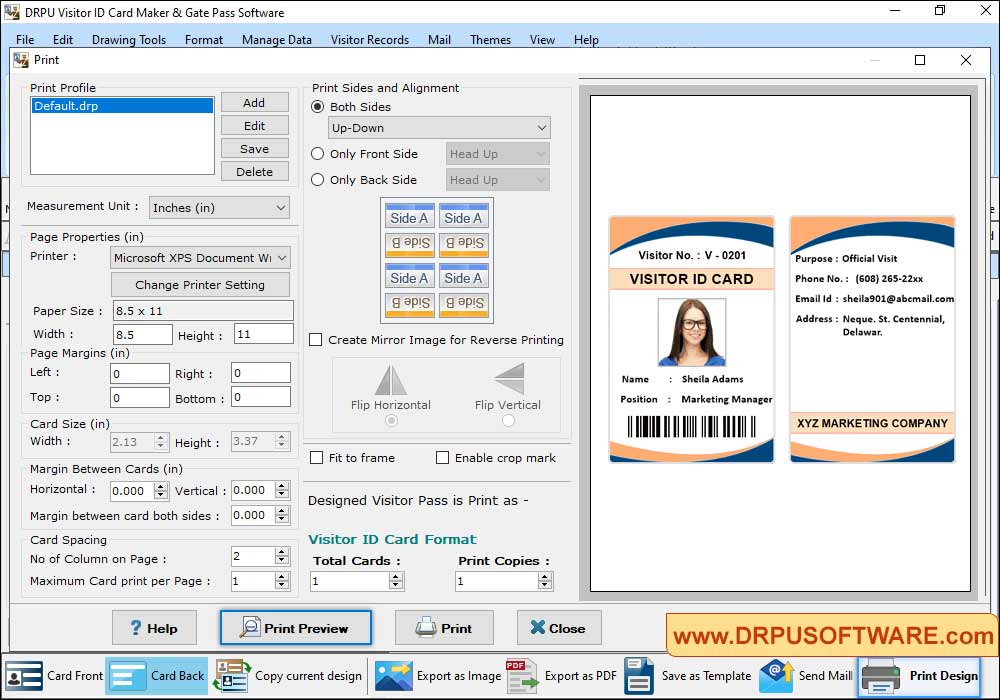
To print your designed visitor ID card, First go to 'Print' option in software Tool Bar. Fill all the printing details as per your requirements then click on Print Button.


