DRPU Students ID Cards Maker for Mac Screenshots
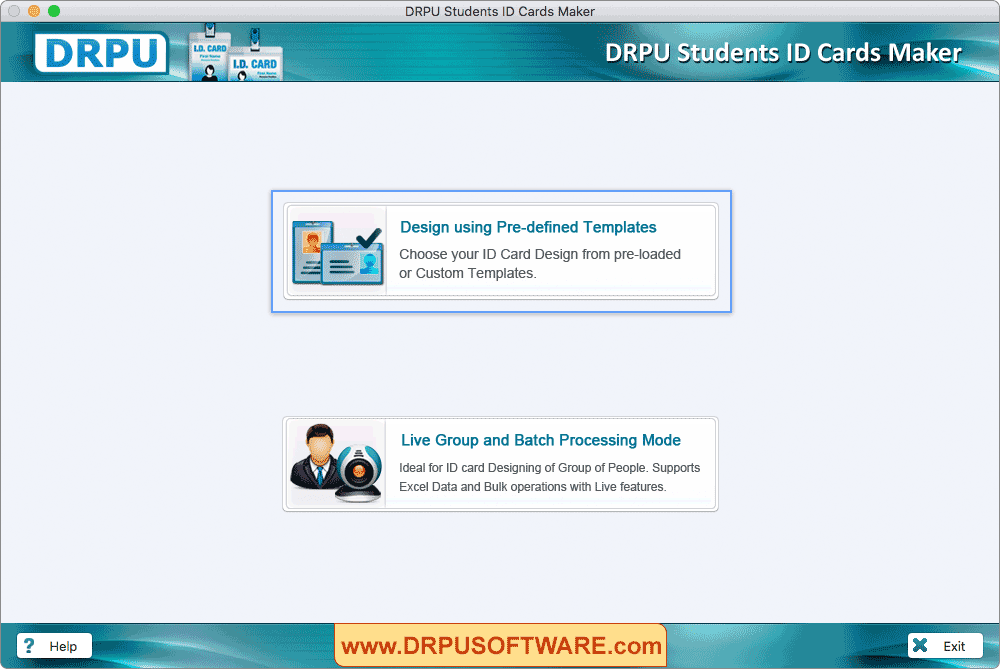
Select any one mode either 'Design using pre-defined templates' or 'Live group and batch processing mode'.
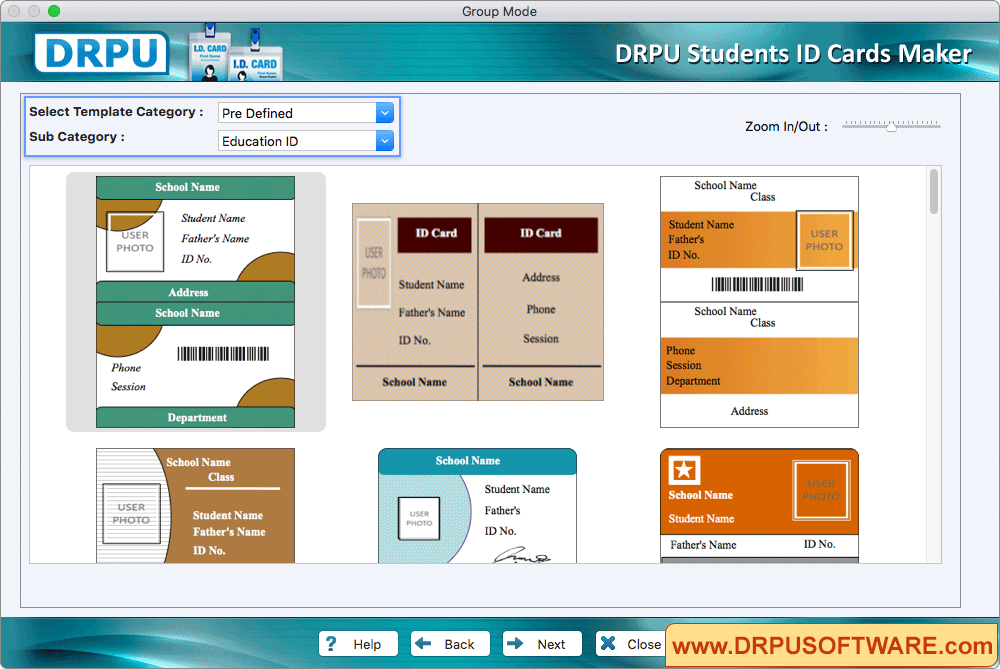
Select template category as per your requirements for designing student ID Card.
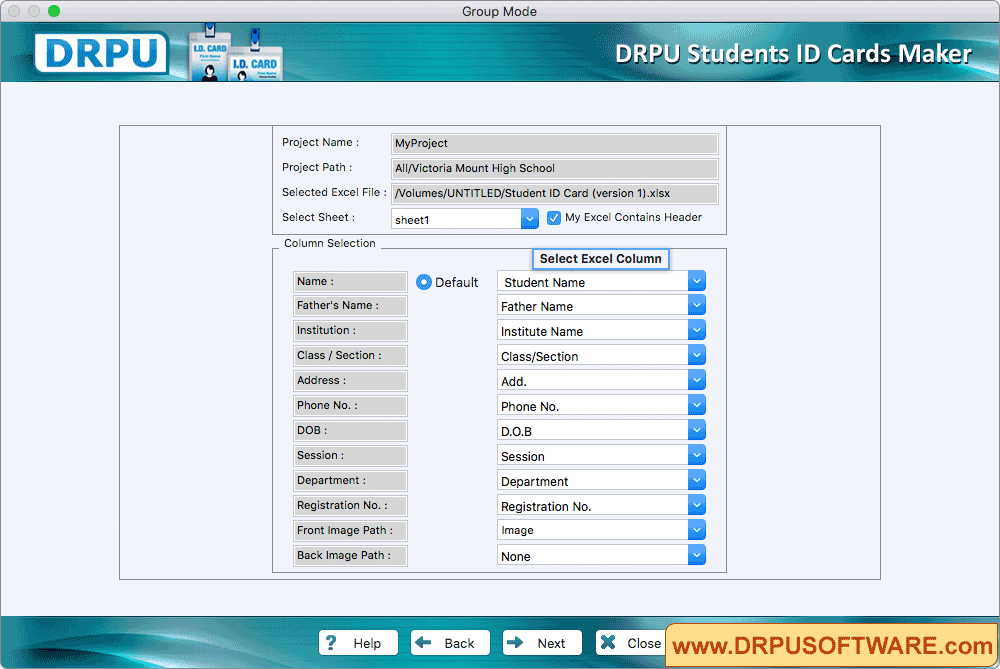
Now, select 'Excel Column' for their respective ID card fields. Click 'Next' button.
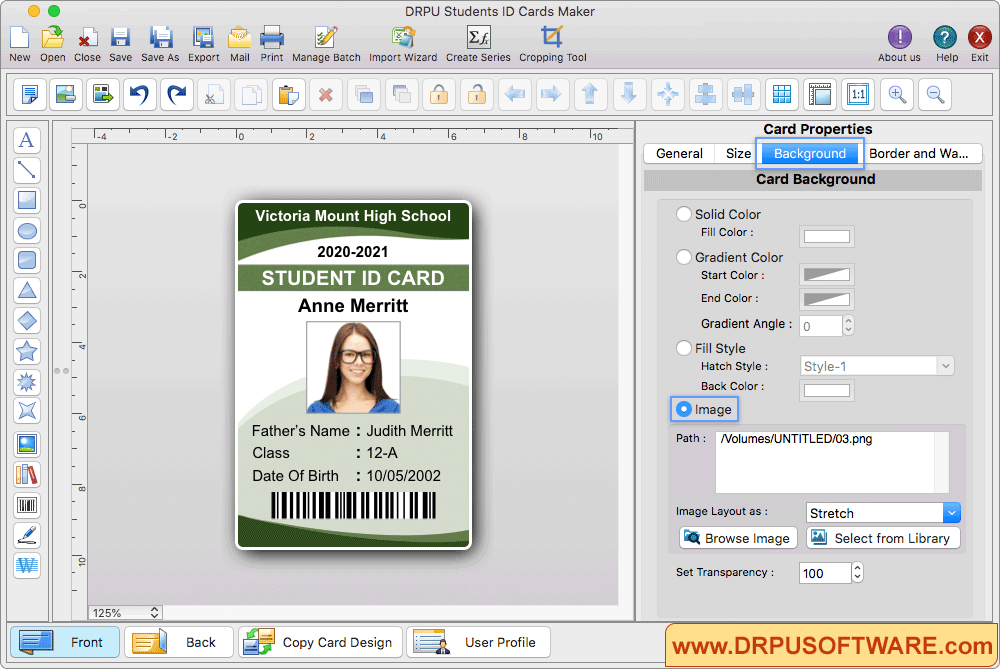
To add ID card details , go to save details and click on that particular entry which you want to add on your student ID Card. You can capture student's photo using camera or you can browse path of that image.
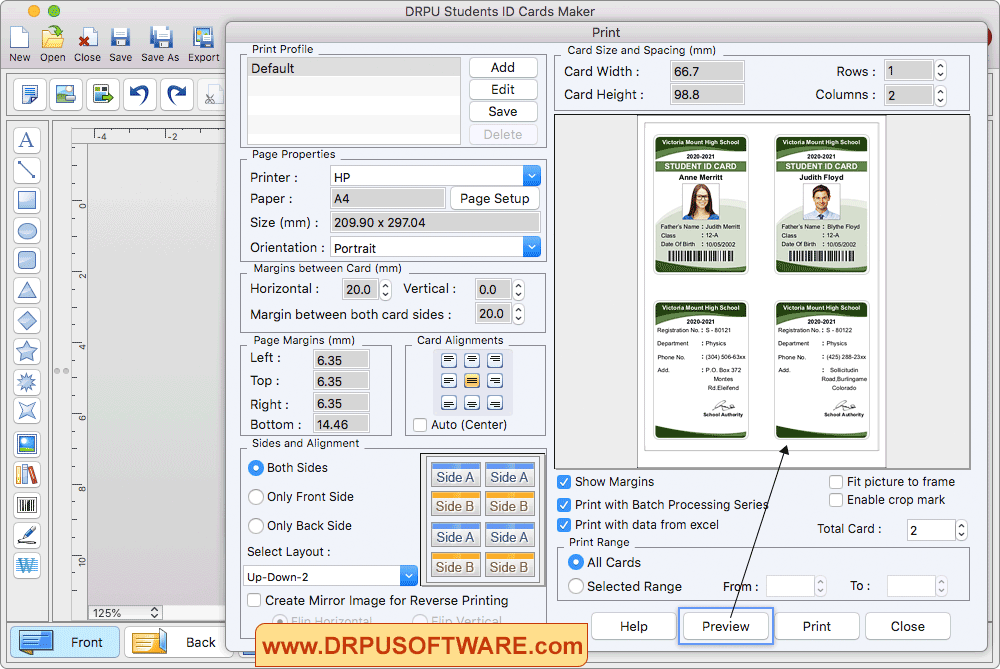
To print your designed Student ID card, Go to 'Print' option in software Tool Bar. Fill all the printing details as per your requirements then click on Print Button.


